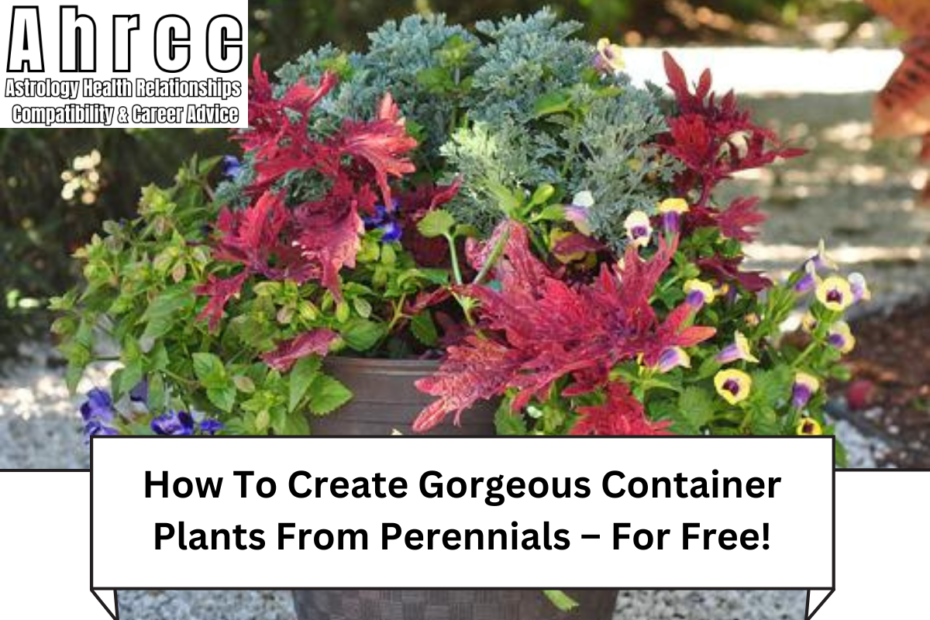
How To Create Gorgeous Container Plants From Perennials – For Free!: Creating beautiful container plants from perennials is a great way to expand your garden without spending a dime.
Perennials are plants that return year after year, making them ideal candidates for propagation, division, and other methods that allow you to fill your containers with vibrant, lush plants for free.
With a little effort and some gardening know-how, you can transform your perennials into gorgeous container displays that will thrive for seasons to come.
In this guide, we’ll walk through simple and effective ways to propagate perennials, divide plants, and creatively arrange them into stunning container gardens.
1. Choose the Right Perennials for Container Gardening
Not all perennials are well-suited for containers, so it’s important to choose varieties that can thrive in confined spaces. Some perennials have shallow roots, making them perfect for pots, while others need more depth. Here are some ideal perennials for containers:
- Hostas: Their lush, textured foliage makes them excellent choices for shaded containers.
- Coral Bells (Heuchera): With their striking colors and compact growth, they add a pop of color to any container.
- Sedum: This drought-tolerant succulent is easy to propagate and grows well in containers.
- Daylilies: Hardy and easy to divide, daylilies thrive in pots and bloom beautifully each year.
- Echinacea (Coneflower): Known for its bright, daisy-like blooms, coneflowers make a statement in containers and are easy to propagate.
Once you’ve chosen your perennials, you can start growing them for free through division, cuttings, or seeds.
2. Propagating Perennials by Division
One of the easiest ways to create new plants from perennials is by dividing mature plants. As perennials grow, they often form clumps that can be divided into smaller sections, each of which can be planted in a new container.
How to Divide Perennials:
- Choose the Right Time: Early spring or fall is the best time to divide perennials. The weather is cooler, reducing stress on the plant.
- Lift the Plant: Gently dig around the base of the plant and lift it out of the ground with a garden fork or spade.
- Separate the Clump: Use a sharp knife or your hands to break the root ball into smaller sections. Each section should have a healthy portion of roots and shoots.
- Repot the Divisions: Place each division into a container filled with fresh potting soil, making sure to water thoroughly. This will help the plant establish its roots in its new home.
Dividing perennials not only gives you free plants but also rejuvenates the original plant, encouraging healthier growth and more blooms.
See Also:How To Stop Mosquitoes – Natural Methods To Keep Mosquitoes Away!
3. Propagating Perennials from Cuttings
Many perennials can be propagated from cuttings, allowing you to grow new plants without disturbing the roots. This method is particularly useful for plants like lavender, sedum, and salvia.
Steps to Propagate Perennials from Cuttings:
- Take the Cutting: In early summer, snip a 4-6 inch cutting from the tip of a healthy, non-flowering stem.
- Remove Lower Leaves: Strip off the bottom leaves, leaving just a few at the top.
- Dip in Rooting Hormone (Optional): While not required, dipping the cutting in rooting hormone can speed up root development.
- Plant the Cutting: Place the cutting into a small pot filled with a mix of potting soil and sand for good drainage. Keep the soil moist but not waterlogged.
- Cover and Wait: To create a humid environment, cover the pot with a plastic bag or place it in a propagator. Within a few weeks, roots should form, and the new plant will be ready for transplanting into a larger container.
4. Starting Perennials from Seed
Another way to create container plants from perennials is by growing them from seed. Although this method takes more time, it’s an inexpensive way to grow new plants, especially for varieties like echinacea, black-eyed Susans, and lupines.
How to Grow Perennials from Seeds:
- Start Indoors: Start seeds indoors in seed trays or small pots, 6-8 weeks before the last frost.
- Use Good Soil: Fill the trays or pots with seed-starting mix and plant the seeds according to the instructions on the seed packet.
- Water and Wait: Keep the soil moist and place the trays in a sunny spot. After the seedlings grow their first true leaves, they can be transplanted into containers.
- Harden Off: Before moving the seedlings outdoors, gradually expose them to outdoor conditions for a few hours each day to harden them off.
Once they’re hardened, you can plant them in containers, where they will grow and bloom year after year.
5. Arranging Your Perennials for Gorgeous Displays
To create visually appealing containers, think about the following design elements:
- Thrillers, Fillers, and Spillers: This classic container gardening method involves placing a tall “thriller” plant in the center, “fillers” around the sides, and trailing “spillers” that cascade over the edges of the pot.
- Color Coordination: Choose plants with complementary colors to create a harmonious display, or go bold with contrasting shades.
- Texture and Height: Mix plants with different textures, such as soft grasses and large-leaved hostas, to add interest and depth.
Conclusion
Creating gorgeous container plants from perennials is an easy, cost-free way to expand your garden and enjoy the beauty of nature year after year. By propagating through division, cuttings, or seeds, you can grow lush, healthy plants that thrive in containers.
With a little creativity and a variety of perennials, you can craft stunning, long-lasting container gardens that bring color and texture to your outdoor spaces. Plus, the satisfaction of knowing you’ve grown these plants for free makes it even more rewarding!
