
When it comes to getting a head start on your garden, starting seeds inside is one of the most effective choices you can make. Getting a head start in this manner is one of the best methods to do so. The following guide is offered for your convenience in order to assist you in the process of cultivating fantastic plants from seeds from within your own confines:
1. Choose the Right Seeds
It is important to choose seeds that are suited for starting inside. You should look for types that have shorter growing seasons or ones that are indicated as being appropriate for growing inside.
2. Gather Supplies
Seed trays or pots: Use trays that have drainage holes or pots that are on the smaller side. Mix for seed starting: Make sure you use a mix that is not only lightweight but also well-drained and expressly intended for seed starting.
Check the seed packet to see if there are any specific restrictions in place. Labels are used to identify the date of planting as well as the types. It is essential for seeds to receive a sufficient amount of light in order for them to germinate and develop into robust plants.
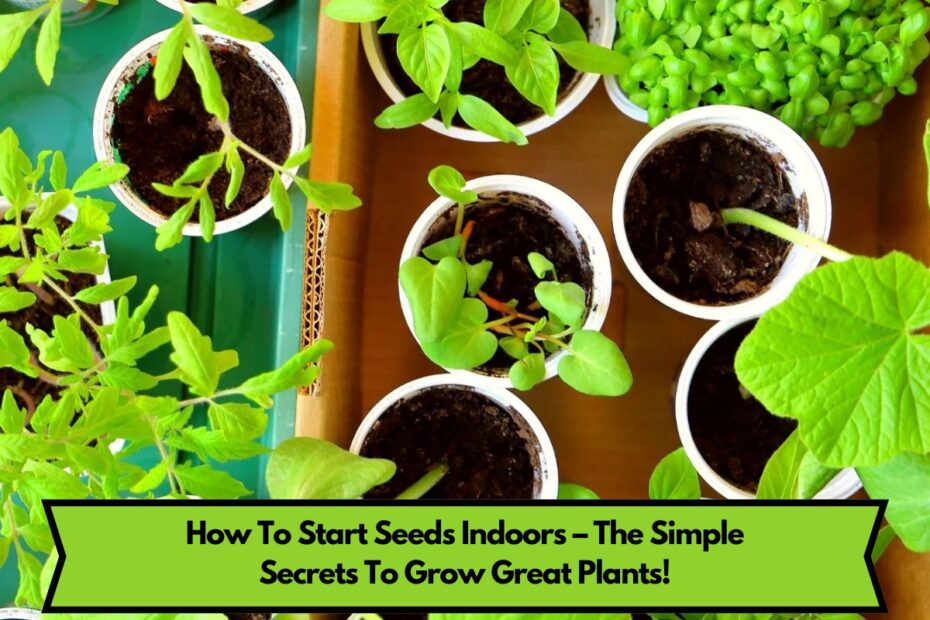
3. Prepare the Seed Trays
Put seed-starting mix into pots or trays and set them aside. Apply a little misting of water to the soil before planting. Avoid compacting the soil too much; in order for seeds to sprout, they require a medium that is loose.
4. Plant the Seeds
The instructions for planting the seeds should be followed to the letter; in general, the seeds should be placed at a depth that is approximately twice as deep as their size.
When planting seeds, either spread them out equally or plant them one at a time, depending on the type. A very thin layer of soil or vermiculite should be applied to the seeds.
Also read:-7 Nectar Plants for Hummingbirds You Aren’t Growing Yet
5. Watering
For the sake of preserving the seeds, water them lightly. Ensure that the soil is damp but not drenched. A spray bottle is a valuable tool for watering plants in a gentle manner.
6. Provide Light
A steady light source is best achieved with grow lights. Adjust them as the seedlings grow and place them between two and four inches above them. If you are using a windowsill that is exposed to sunlight, make sure that the plants receive at least six to eight hours of light each day.
7. Maintain Temperature
This temperature range (21-24 degrees Celsius) is optimal for the germination of most seedlings. If necessary, make use of a seedling heat mat in order to keep the temperature steady.
8. Monitor Growth
Look for indications of germination on a daily basis. As soon as the seedlings emerge, make sure they are exposed to sufficient light so that they do not become lanky.
9. Transplanting
When seedlings have two sets of true leaves, they are ready to be transplanted into larger pots or, if the weather permits, they can be moved outside altogether. Before planting seedlings in the garden, it is important to first harden them off by gradually exposing them to the circumstances of the outdoors over the course of a week.
10. Keep Records
Make sure that your trays are clearly labeled with the date that you planted the seeds as well as the type of seed that you are planting. Ensure that you keep a careful eye on the evolution of growth and make a note of any difficulties or achievements that come up along the way.